Servidor Web Lighttpd + PHP
Introducción
Lighttpd es posiblemente el servidor web más liviano que hay disponible en la actualidad. Esto significa que consume muy pocos recursos de la máquina en la que se instala. Y por este motivo muchos usuarios lo eligen para montar un servidor web en su Raspberry Pi. Veamos cómo sería el proceso.
Instalación de lighttpd
sudo apt-get update
sudo apt install lighttpd lighttpd-mod-deflate lighttpd-mod-openssl lighttpd-doc lighttpd-mod-webdav lighttpd-modules-dbi lighttpd-modules-lua spawn-fcgi -y
Vamos ahora a cambiar el propietario y el grupo de la carpeta /var/www/html y a añadir al usuario pi a dicho grupo:
sudo chown www-data:www-data /var/www/html
sudo chmod 775 /var/www/html
sudo usermod -a -G www-data pi
Añadimos las siguiente linea para que el servidor se inicie al arrancar el sistema:
sudo systemctl enable lighttpd
Verificamos el estado de Lighttpd:
sudo systemctl status lighttpd
● lighttpd.service - Lighttpd Daemon
    Loaded: loaded (/lib/systemd/system/lighttpd.service; enabled; preset: enabled)
    Active: active (running) since Fri 2024-11-15 17:25:55 CET; 10s ago
    Process: 24026 ExecStartPre=/usr/sbin/lighttpd -tt -f /etc/lighttpd/lighttpd.conf (code=exited, status=0/SUCCESS)
Main PID: 24033 (lighttpd)
    Tasks: 6 (limit: 1582)
        CPU: 1.016s
    CGroup: /system.slice/lighttpd.service
            ├─24033 /usr/sbin/lighttpd -D -f /etc/lighttpd/lighttpd.conf
            ├─24038 /usr/bin/php-cgi
            ├─24039 /usr/bin/php-cgi
            ├─24040 /usr/bin/php-cgi
            ├─24041 /usr/bin/php-cgi
            └─24042 /usr/bin/php-cgi

Nov 15 17:25:54 raspi4 systemd[1]: Starting lighttpd.service - Lighttpd Daemon...
Nov 15 17:25:55 raspi4 systemd[1]: Started lighttpd.service - Lighttpd Daemon.
Ahora si escribimos la IP local en el navegador del PC (http://192.168.1.35), por ejemplo, veremos una página web de ejemplo similar a esta:
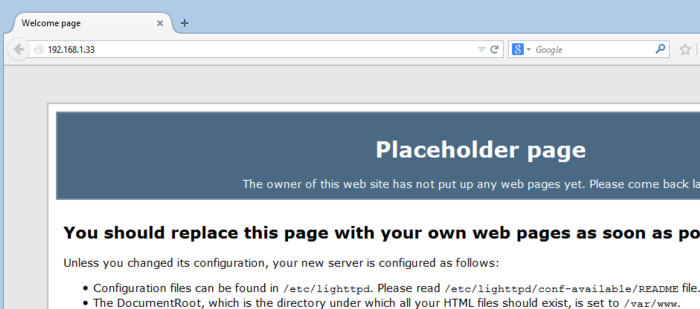
Esto significa que nuestro servidor web ya está en funcionamiento.
Instalación de PHP

A continuación, instalamos los siguientes paquetes PHP y otros necesarios en su sistema.
sudo apt install php8.2-fpm php8.2-cgi php8.2-xml php8.2-mysql apache2-utils -y
A continuación habilitamos los módulos FastCGI y FastCGI-PHP con los siguientes comandos:
sudo lighttpd-enable-mod fastcgi
sudo lighttpd-enable-mod fastcgi-php
Reiniciamos lighttpd
sudo systemctl restart lighttpd
Advertencia
Si al instalar los paquetes PHP tenemos algún error del tipo “package not found” porque nuestra versión de Raspbian no tiene los paquetes de php8.2 en el repositorio oficial seguimos este proceso:
sudo apt update

sudo apt install lsb-release

curl https://packages.sury.org/php/apt.gpg | sudo tee /usr/share/keyrings/suryphp-archive-keyring.gpg >/dev/null

echo "deb [signed-by=/usr/share/keyrings/suryphp-archive-keyring.gpg] https://packages.sury.org/php/ $(lsb_release -cs) main" | sudo tee /etc/apt/sources.list.d/sury-php.list

sudo apt update
Editamos ahora el siguiente fichero:
sudo nano /etc/lighttpd/conf-available/15-fastcgi-php.conf
Sustituimos totalmente el contenido por este:
# -*- depends: fastcgi -*-
# /usr/share/doc/lighttpd/fastcgi.txt.gz

## Start an FastCGI server for php
fastcgi.server += ( ".php" =>
                ((
                                "socket" => "/var/run/php/php8.2-fpm.sock",
                                "broken-scriptfilename" => "enable"
                ))
)
Reiniciamos el servicio del servidor web:
sudo service lighttpd force-reload
Creamos una página de pruebas:
sudo nano /var/www/html/test.php
en el que incluiremos este sencillo contenido:
<?php
phpinfo();
?>
y probamos: http://192.168.1.35/test.php
Securizando Lighttpd con certificado gratuito Let’s Encrypt
Primero, comprobamos si tenemos instalado el paquete certbot para asegurar nuestro servidor web con Let’s Encrypt.
Si no fuera así, lo instalamos:
sudo su
apt-get update -y
apt-get install certbot -y
Creamos el certificado Let’s Encrypt
certbot certonly --webroot -w /var/www/html/ -d www.example.com
Nos pedirá que aportemos una dirección de correo electrónico y un cuestionario:
Saving debug log to /var/log/letsencrypt/letsencrypt.log
Plugins selected: Authenticator webroot, Installer None
Enter email address (used for urgent renewal and security notices)
 (Enter 'c' to cancel): user@hotmail.com

- - - - - - - - - - - - - - - - - - - - - - - - - - - - - - - - - - - - - - - -
Please read the Terms of Service at
https://letsencrypt.org/documents/LE-SA-v1.4-April-3-2024.pdf. You must agree in
order to register with the ACME server. Do you agree?
- - - - - - - - - - - - - - - - - - - - - - - - - - - - - - - - - - - - - - - -
(Y)es/(N)o: Y

- - - - - - - - - - - - - - - - - - - - - - - - - - - - - - - - - - - - - - - -
Would you be willing, once your first certificate is successfully issued, to
share your email address with the Electronic Frontier Foundation, a founding
partner of the Let's Encrypt project and the non-profit organization that
develops Certbot? We'd like to send you email about our work encrypting the web,
EFF news, campaigns, and ways to support digital freedom.
- - - - - - - - - - - - - - - - - - - - - - - - - - - - - - - - - - - - - - - -
(Y)es/(N)o: Y
Account registered.
Requesting a certificate for www.example.com
Performing the following challenges:
http-01 challenge for www.example.com
Using the webroot path /var/www/html for all unmatched domains.
Waiting for verification...
Cleaning up challenges
Subscribe to the EFF mailing list (email: user@hotmail.com).

IMPORTANT NOTES:
 - Congratulations! Your certificate and chain have been saved at:
   /etc/letsencrypt/live/example.com/fullchain.pem
   Your key file has been saved at:
   /etc/letsencrypt/live/example.com/privkey.pem
   Your certificate will expire on 2025-02-09. To obtain a new or
   tweaked version of this certificate in the future, simply run
   certbot again. To non-interactively renew *all* of your
   certificates, run "certbot renew"
 - If you like Certbot, please consider supporting our work by:

   Donating to ISRG / Let's Encrypt:   https://letsencrypt.org/donate
   Donating to EFF:                    https://eff.org/donate-le
A continuación, tenemos que combinar el certificado y la clave privada en un archivo:
cat /etc/letsencrypt/live/example.com/cert.pem
/etc/letsencrypt/live/example.com/privkey.pem >
/etc/letsencrypt/live/example.com/web.pem
A continuación, deberá editar el archivo de host virtual Lighttpd y definir la ruta del certificado Let’s Encrypt SSL.
nano /etc/lighttpd/conf-enabled/example.com.conf
Cambie el archivo como se muestra a continuación:
# Enable the SSL engine with a LE cert, only for this specific host
$SERVER["socket"] == ":443" {
ssl.engine = "enable"
ssl.pemfile = "/etc/letsencrypt/live/example.com/web.pem" # Combined Certificate
ssl.ca-file = "/etc/letsencrypt/live/example.com/chain.pem" # Root CA
server.name = "www.example.com" # Domain Name OR Virtual Host Name
server.document-root = "/var/www/html/" # Document Root
server.errorlog = "/var/log/lighttpd/example.com_error.log"
accesslog.filename = "/var/log/lighttpd/example.com_access.log"
}

# Redirect HTTP to HTTPS
$HTTP["scheme"] == "http" {
$HTTP["host"] =~ ".*" {
  url.redirect = (".*" => "https://%0$0")
}
}
Guardamos y cerramos el editor y reiniciamos lighttpd
sudo systemctl restart lighttpd
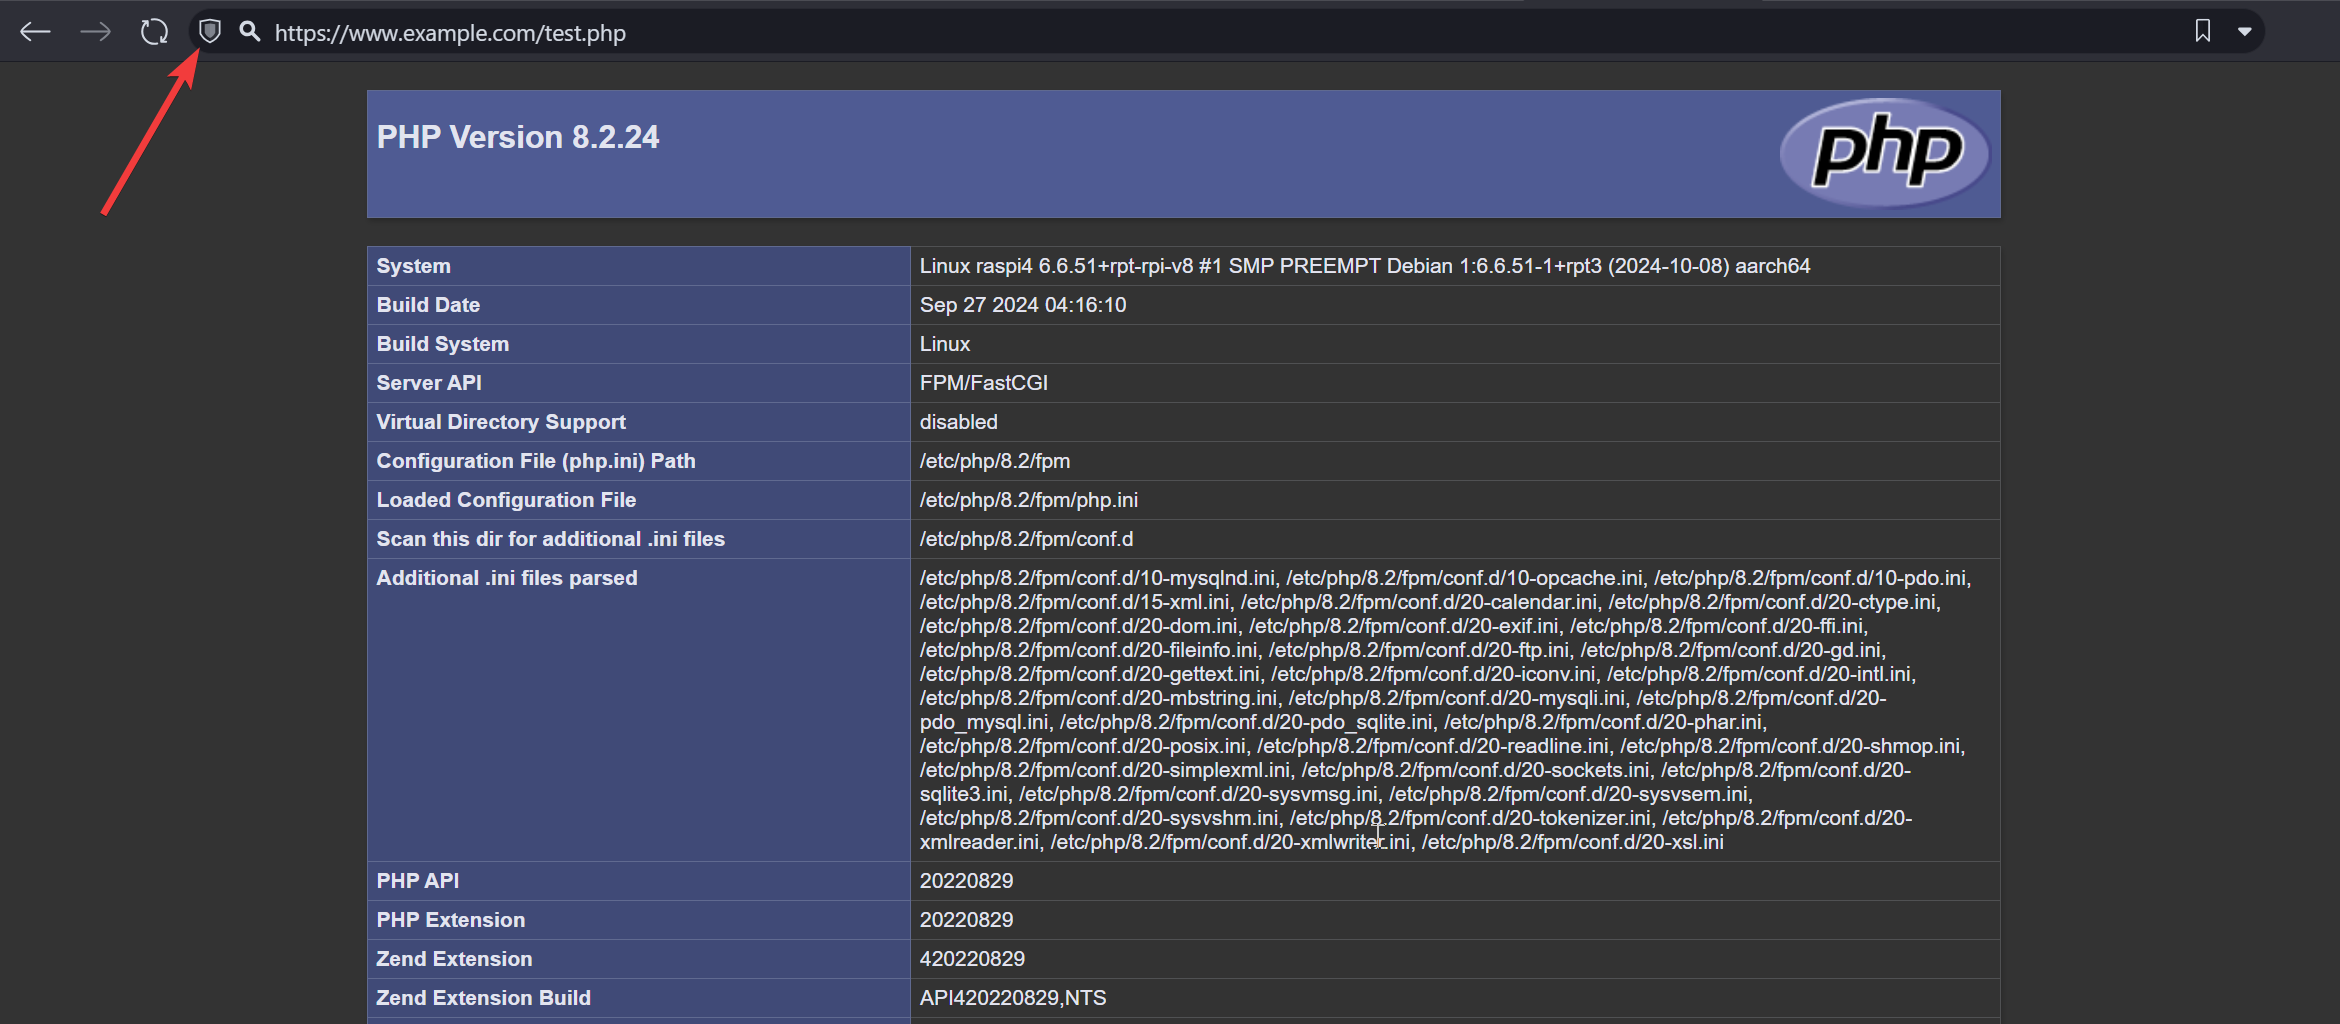
Como antes, si abrimos en el navegador del PC la IP local de la Raspberry con https, seguida del nombre del fichero PHP que hemos creado https://www.example.com/test.php, nos aparecerá un cuadro con información detallada sobre la versión de PHP instalada:
Las páginas web que queramos mostrar hemos de colocarlas en el directorio /var/www/html y además tendremos que abrir los puertos 80 y 443 en el router y dirigirlo a la IP local de la RasPi para poder acceder desde Internet al servidor.
Renovaciones de certificados Let’s Encrypt
La entidad Let’s Encrypt emite certificados que son válidos por únicamente 90 días. Esto es a todas luces poco tiempo y nos generaría mucho trabajo si los certificados los tuviéramos que renovar a mano.
Si hemos instalado Certbot tenemos la ventaja de que se habrán creado las tareas de renovación de los certificados en trabajos que se van a ejecutar periódicamente. Por tanto, cuando llegue el momento de las renovaciones será posible actualizar los certificados sin necesidad de intervención personal.
Los certificados se pueden renovar cuando faltan 30 días o menos para su fecha de vencimiento. Por tanto, si acabamos de generar los certificados en principio no sería posible verificar si, llegado el momento de las renovaciones, se podrán ejecutar correctamente. También Certbot ha tenido en cuenta esta situación y nos ofrece una vía para verificar que las renovaciones se podrán realizar correctamente. Para ello existe un comando que simula la renovación.
sudo certbot renew --dry-run
Resultado:
Saving debug log to /var/log/letsencrypt/letsencrypt.log

- - - - - - - - - - - - - - - - - - - - - - - - - - - - - - - - - - - - - - - -
Processing /etc/letsencrypt/renewal/example.com.conf
- - - - - - - - - - - - - - - - - - - - - - - - - - - - - - - - - - - - - - - -
Simulating renewal of an existing certificate for example.com

- - - - - - - - - - - - - - - - - - - - - - - - - - - - - - - - - - - - - - - -
Congratulations, all simulated renewals succeeded:
/etc/letsencrypt/live/example.com/fullchain.pem (success)
- - - - - - - - - - - - - - - - - - - - - - - - - - - - - - - - - - - - - - - -
En principio no deberíamos preocuparnos por actualizar, al instalar el certificado se crea una tarea de automatización:
cat /etc/cron.d/certbot
Tarea:
# /etc/cron.d/certbot: crontab entries for the certbot package
#
# Upstream recommends attempting renewal twice a day
#
# Eventually, this will be an opportunity to validate certificates
# haven't been revoked, etc.  Renewal will only occur if expiration
# is within 30 days.
#
# Important Note!  This cronjob will NOT be executed if you are
# running systemd as your init system.  If you are running systemd,
# the cronjob.timer function takes precedence over this cronjob.  For
# more details, see the systemd.timer manpage, or use systemctl show
# certbot.timer.

SHELL=/bin/sh
PATH=/usr/local/sbin:/usr/local/bin:/sbin:/bin:/usr/sbin:/usr/bin

0 */12 * * * root test -x /usr/bin/certbot -a \! -d /run/systemd/system && perl -e 'sleep int(rand(43200))' && certbot -q renew --no-random-sleep-on-renew
Esto es, comprueba la caducidad todos los días cada 12 horas.